3D printing is one of those technologies that feels almost magical — you start with a 3d modeling for printing on your computer, press “print,” and a physical object appears. But anyone who’s been around the block with additive manufacturing knows it’s not that simple.
A truly successful 3D print isn’t just about exporting an STL file and hitting ‘Go.’ It’s about careful planning, correct modeling techniques, and making smart choices along the way so you don’t waste time, filament, or your sanity.
This guide walks you through the journey — from your very first sketch to generating a fully calibrated G-code file — so you can reduce rework, avoid failed prints, and keep that build plate frustration to a minimum.
Why Specialized Modeling Matters
Even entry-level desktop printers today can deliver accuracy down to ±0.2 mm. And yet, the majority of failed prints can be traced back to design oversights — walls too thin, inverted normals, or overhangs that defy the laws of gravity.
By using modeling workflows built for 3D printing right from the start, you embed manufacturability into your design. This can save you hours of sanding away support scars, troubleshooting warped parts, or wasting filament on re-prints.
Step 1 – Concept & Sketching

Every good print starts with a clear concept. Whether you’re an engineer making precision parts or a hobbyist designing miniatures, having a solid brief makes your CAD decisions sharper.
- Engineers often start in parametric CAD tools like Fusion 360 or SolidWorks, defining exact dimensions and tolerances.
- Artists lean toward sculpting tools like ZBrush or Blender for freeform, organic designs.
- Hybrid workflows sometimes start with hand sketches, scanned and vectorized in Illustrator, before bringing them into CAD or sculpting software.
The better your concept, the smoother every step that follows.
Step 2 – Choosing a Modeling Approach

Your modeling workflow should match your project:
- Parametric CAD: Ideal for prismatic, functional parts. You can edit constraints easily if you need late-stage changes.
- Organic Sculpting: Perfect for figurines, cosplay props, or anatomical models where flowing topology matters.
- Hybrid Modeling: Many pros mix both — creating precise threads or sockets in CAD, then exporting them into Blender or ZBrush to add surface details like weathering or fabric texture.
Step 3 – Preparing the Geometry

Before you even think about exporting:
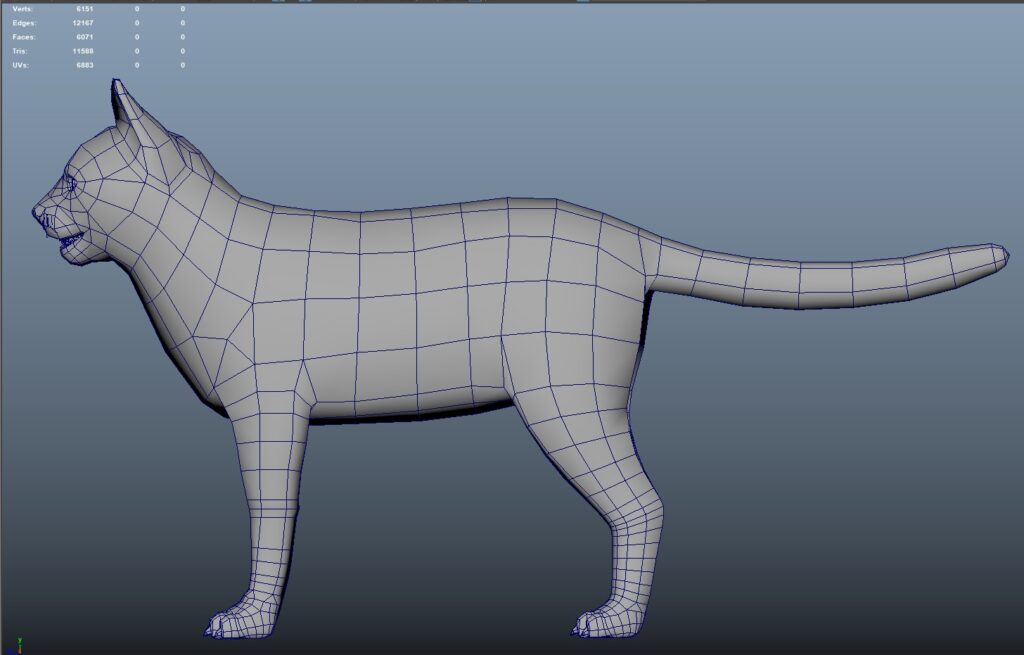
- Make it watertight — no gaps, no non-manifold edges. Meshmixer’s Inspector or Netfabb’s repair tools can do this automatically.
- Check feature sizes — keep minimum feature size around 0.4–0.8 mm for FDM printers so fine details don’t vanish.
- Correct the scale — remember that STL files don’t store units, so a millimeter in CAD might become an inch in your slicer. Using 3MF can preserve this data.
Step 4 – Exporting for Print: STL vs 3MF
- STL is the industry standard — almost every slicer supports it. But it only stores triangles and has no color or metadata.
- 3MF is newer and can store far more: color, lattice data, even slicer settings — all in a smaller file. If your slicer supports it, use 3MF for complex prints.
Step 5 – Slicing Fundamentals
Inside Cura, PrusaSlicer, or other slicing tools, double-check these:
- Wall Thickness — at least 2× the nozzle diameter (e.g., 1.2 mm for a 0.4 mm nozzle).
- Overhang Angles — avoid anything over 45° without support structures.
- Clearances — leave 0.2–0.3 mm for FDM press fits, and around 0.1 mm for high-res SLA couplings.
Step 6 – Print Simulation & Iteration
Preview your G-code line-by-line. Watch for unnecessary travel moves across fragile features.
For resin printing, simulate UV curing to spot “suction cup” issues in hollow parts — a common cause of print failure.
Conclusion & Takeaway
Modeling for additive manufacturing is a cycle: concept → CAD/sculpt → repair → slice → test print → refine.
If you build your workflow with manufacturability in mind from the start, you move away from “print-and-pray” and toward a reliable, repeatable process. This approach not only saves you wasted filament and time — it also gives you the confidence to scale from hobby printing to professional production.

